Arms of God FAQ — 15 Questions Answered (Weapons, Builds, Bosses & More)
How Do I Unlock All Characters?
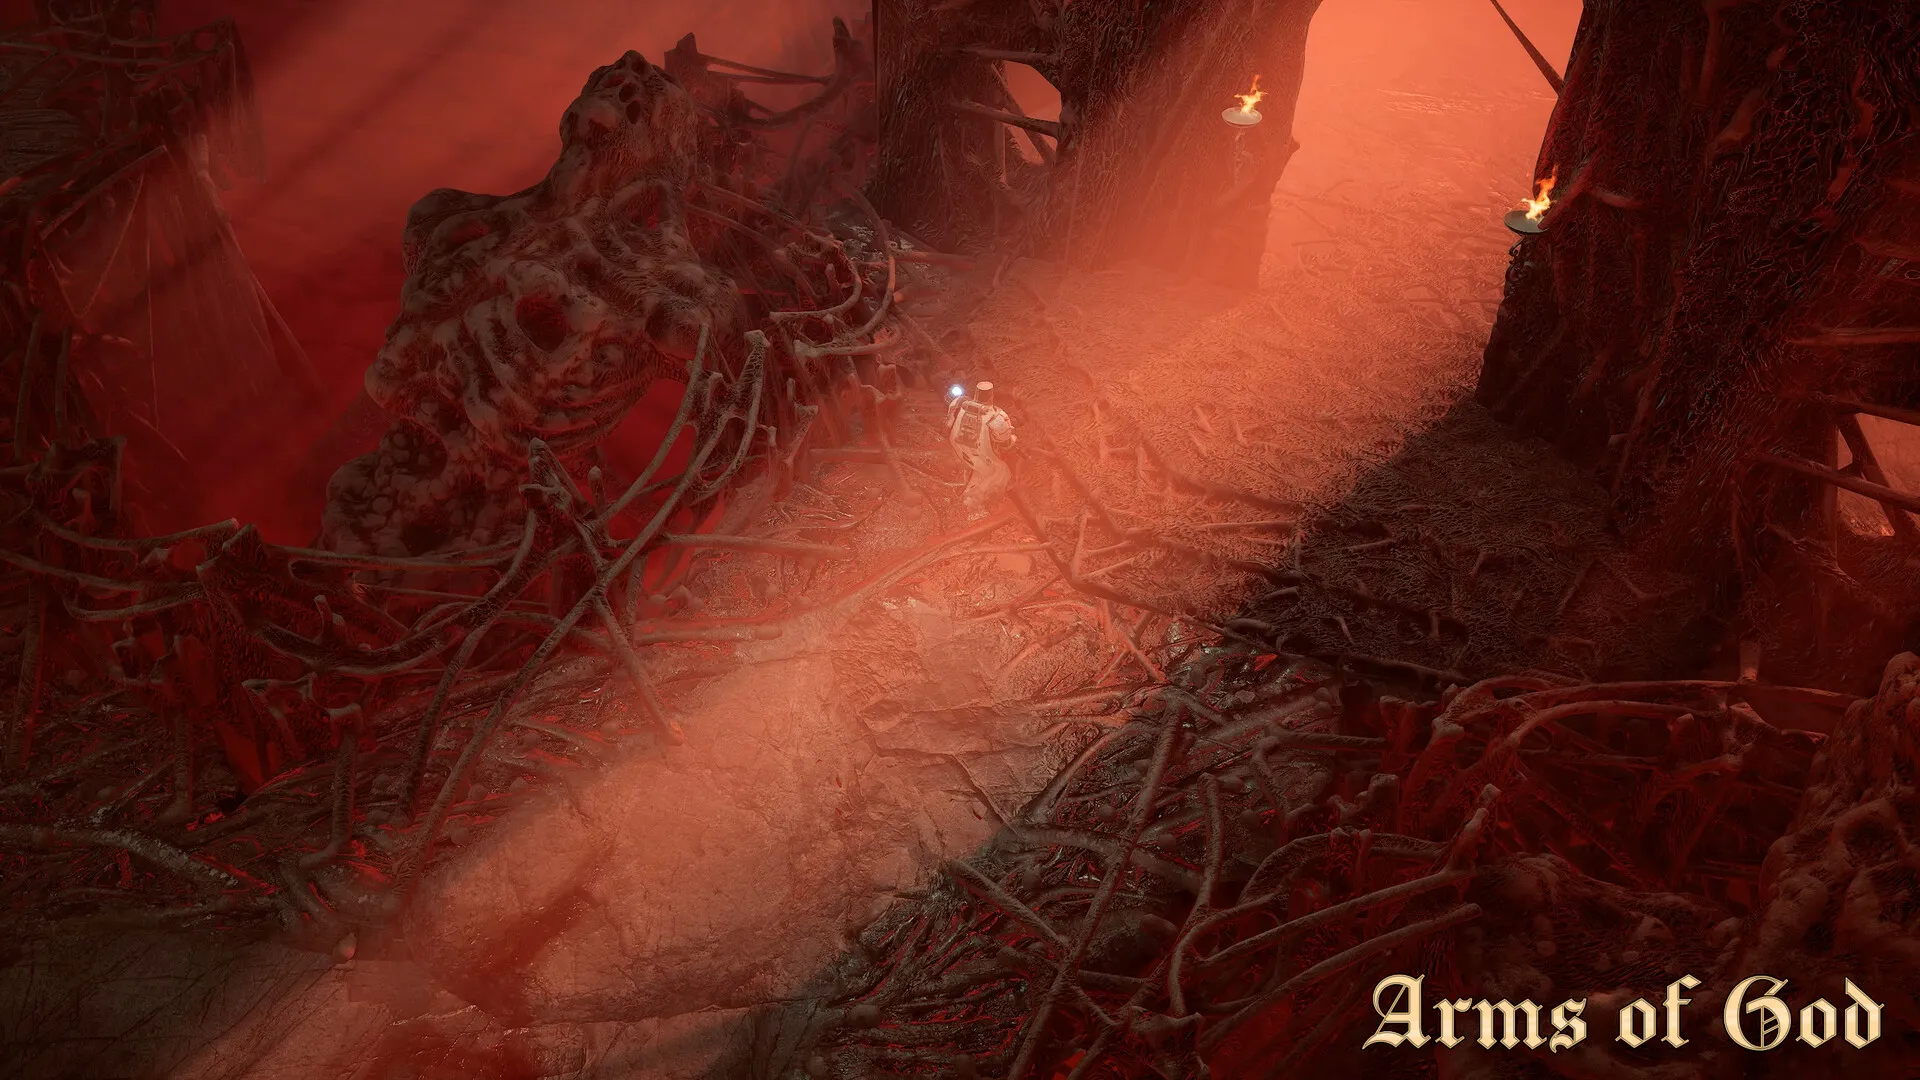
Ten characters are available in Early Access. Seven unlock through progression: you get a new character after clearing each Act for the first time (Acts 1-4 give 4 characters, then Acts 1-3 again on higher difficulties give 3 more). The remaining three are hidden: Void Reaper requires collecting 3 Cursed Relics in a single run, Phoenix Lord requires completing Act 4 without dying, and the 10th character (Community Vote winner) unlocks by talking to the NPC behind the Cathedral's east altar — most players miss this because the NPC only appears after you've cleared Act 2 with at least 3 different characters. Total unlock time: roughly 20-30 hours for a casual player, 10-12 hours for an experienced roguelite player.
What's the Best Blessing Priority in the Cathedral?
The Cathedral upgrade tree has four branches: Combat (red), Utility (blue), Divine (gold), and Exploration (green). The optimal first-15-points spend is: Combat to Rank 5 (unlocks weapon tier upgrades in runs), then Utility to Rank 3 (unlocks the second blessing slot), then Combat to Rank 8 (unlocks rare weapon drops in Act 1). Avoid Exploration until late-game — the extra gold and item find sound good but don't help you clear Act 4, which is how you unlock the best Cathedral nodes. A common mistake is spreading points evenly. Each branch has breakpoints at Ranks 3, 5, and 8 where new mechanics unlock — hitting those matters more than total points spent.
Why Can't I Merge My Weapons?
Three common reasons. First, both weapons must be divine rarity or higher — you cannot merge common or rare weapons. Second, the merge NPC only spawns on floors 4, 8, 12, and 16 of each Act. If you're on a non-merge floor, you simply won't find the option. Third, and most frequently overlooked: you need at least 200 gold to initiate a merge. The game doesn't gray out the option when you're short — it just shows the merge table with no interaction prompt. Check your gold count first before searching for bugs. If all three conditions are met and merging still doesn't work, you might be in the one-in-100 run where a blessing or relic prevents merging (check your active effects panel).
Which Act Is the Hardest?
Based on clear rates across the community (aggregated from the official Discord's weekly challenge threads), Act 3 is the hardest for most players. The Archon of Storms boss has the tightest dodge windows in the game and a phase 2 mechanic where lightning pillars spawn under your position with zero telegraph — reaction time is the only defense. Act 4's final boss is technically harder but by the time you reach it, your build is usually online. Act 3's mid-boss is where most runs end. If you're consistently dying in Act 3, adjust your build to prioritize movement speed (at least +20%) and consider running a ranged weapon for the Archon fight.
Are There Hidden Bosses?
Yes, two. The Herald of the Abyss appears in Act 3 if you're holding 3+ Cursed Relics when you enter the boss room. The Echo of the First Flame appears in Act 4 but only if you completed the entire run without taking a single fire-damage weapon — this means Holy and Shock builds only. Both hidden bosses drop exclusive gear: the Herald drops the Abyssal Scythe (S-tier for Void Reaper character), and the Echo drops the Primordial Flame heart (a passive item that adds fire damage to all your attacks). Neither hidden boss is required for achievements, but the drops make Act 4 significantly easier.
What's the Best Way to Farm Gold?
The Cathedral's Exploration branch Rank 5 perk ('Prosperity') increases gold drops by 25%. Combined with items that have gold-find affixes, you can double your per-run gold income. For raw farming, Act 2 floor 6-8 has the highest gold-per-minute ratio: skip side rooms, rush to the floor 8 merchant, buy the Gold Idol relic (costs 150, sells for 300 at the next merchant). Repeat this loop on Normal difficulty. You'll earn roughly 1,500-2,000 gold per hour. The hidden chest in Act 1 floor 3 (behind the waterfall at the east edge of the map) respawns every run and consistently drops 50-80 gold and a blue-tier item.
How Do Damage Types Work?
Three damage types: Holy (yellow), Fire (orange), and Shock (blue). Holy deals bonus damage to undead/demonic enemies (roughly 25% extra). Fire applies a 3-second burn for 10% of the initial hit per tick — excellent for sustained DPS. Shock has a 15% chance to chain to a nearby enemy for 50% damage. The key interaction most guides skip: enemies have hidden resistance values. Act 2 enemies are 30% more resistant to Fire. Act 3 enemies resist Holy. Act 4 bosses start with neutral resistance but gain resistance to whichever damage type you deal most in phase 1 — so you want at least two damage types by Act 4.
Should I Focus on One Character or Play All?
Playing all characters isn't just fun — it's mechanically required for full progression. Cathedral upgrade points are earned per-character at certain milestones (first clear of each Act, reaching level 20, etc.). If you only play one character, you cap out at roughly 60 upgrade points. Playing five different characters to Act 2 clear gives you roughly 100 points — enough to fully max two Cathedral branches. Content-wise, each character's Divine Form (ultimate ability) changes how weapons feel, so trying different characters keeps the game fresh through the grind.
What's the Fastest Way to Unlock the Final Boss?
Speedrun route: Start with the Paladin (best early-game survivability). Skip all side rooms and optional encounters — they're time traps. Buy movement speed blessings whenever available. Focus on Holy damage weapons (bonus against Act 1-2 enemy types). The fastest recorded Act 1-4 clear on Normal difficulty is 38 minutes (community record, July 2026). For a first unlock, expect 2-3 hours per full run. The trick: if your build isn't coming together by Act 2 floor 10, restart. Pushing a bad build costs you 45 minutes with no payoff.
Can I Respec Cathedral Upgrades?
No, respec is not currently available. Each Cathedral point is permanent. This is why the recommended spending order matters so much. The developers have mentioned respec may come in a future patch, but as of Early Access, plan carefully. If you regret a spend, your only option is to earn more points through alt characters to unlock the branch you actually want. On the positive side, all branches are eventually useful — even a suboptimal spread doesn't brick your account, it just means slower early progression.
How Does Co-op Affect Difficulty?
Co-op scales enemy HP by 60% per additional player. This means 2-player co-op enemies have 160% HP, 3-player has 220%, and 4-player has 280%. Loot drops. scale — more players means more total drops, but each individual player sees fewer drops per enemy. The sweet spot is 2-player: fights are noticeably easier (you can rez each other), loot is still generous, and boss aggro is split. 4-player is the hardest difficulty in the game — recommend only for groups where all four players have cleared Act 4 solo at least once.
What Are the Rarest Items?
The Abyssal Scythe (hidden boss drop, roughly 2% per Herald kill), Primordial Flame (hidden boss drop, one attempt per eligible run), and the Crown of Ages (chest drop in Act 4 secret room, estimated 0.5% drop rate from the 'Gilded Chest' variant). The Crown of Ages is the only item that grants a fourth blessing slot — making it the single most powerful item in the game. After 200+ hours across the community Discord, fewer than 30 confirmed Crown drops have been reported as of July 2026.
How Long Is a Typical Run?
A full Act 1-4 clear on Normal difficulty takes 45-90 minutes depending on build quality and player skill. Speed-focused runs can finish in under 40 minutes. Exploration-heavy runs (checking every room, opening every chest) can stretch to 2 hours. Act 1 alone takes 10-15 minutes, Act 2 takes 15-20 minutes, Act 3 takes 12-18 minutes, and Act 4 takes 8-12 minutes. The time-per-Act drops significantly as you learn room layouts and enemy spawn patterns.
Do Blessings Stack?
Yes, blessings stack multiplicatively. Two +10% damage blessings give +21% total (1.10 x 1.10 = 1.21), not +20%. This means stacking the same blessing type has diminishing returns — a third +10% blessing only takes you from 1.21 to 1.33 (roughly 10% gain versus the first blessing's 10% gain). Optimal strategy: stack three different blessing types that complement your build rather than five of the same. Exception: movement speed blessings stack almost additively (the formula is different), so loading up on these has no meaningful diminishing returns.
When Should I Start a New Run vs Stick It Out?
Stick it out if: you have a clear damage type focus by Act 2 floor 5, you've found at least 2 weapons of matching damage type, and your Cathedral upgrades include at least Combat Rank 5. Restart if: you're past Act 2 floor 5 with no coherent build direction, you've already lost both death-revive options, or your weapons are all common/rare quality with no upgrade path visible. The rule I use: if Act 3 mid-boss feels impossible, it's not you — it's the run. Restart.