Arms of God Devastator Guide — Best Ranged DPS Build, Stats & How to Craft
Devastator Overview
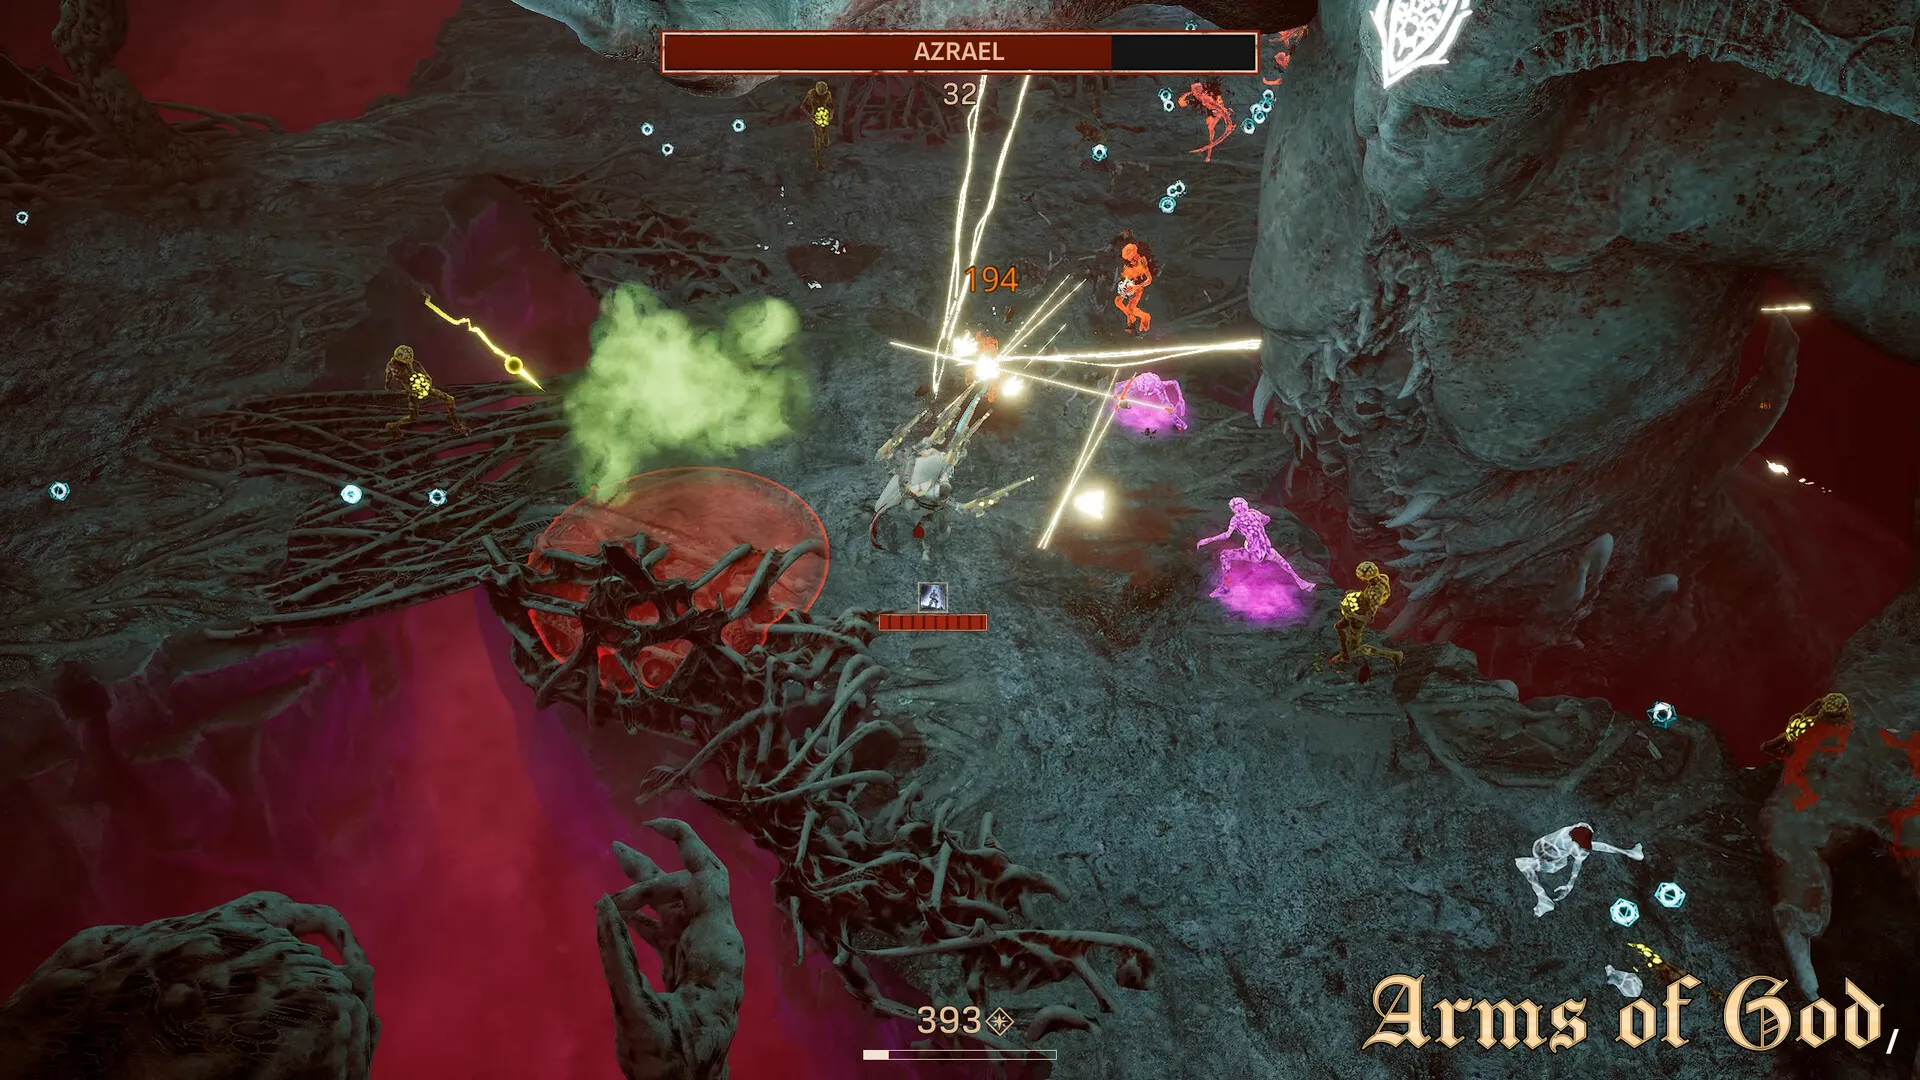
The Devastator is a Tier 3 Physical ranged weapon — essentially a heavy cannon that fires explosive shells. It has the highest single-shot damage in the game but fires slowly and requires careful positioning. If you enjoy one-shotting elites and chunking boss HP bars, this is your weapon.
How the Devastator Works
The Devastator fires explosive shells that deal physical damage in a small AoE (roughly 1 character-width radius). Shells have travel time but pierce through all enemies until they hit a wall or reach maximum range. Each shell deals 100% damage to the primary target and 60% splash damage to everything in the AoE.
Key stats at Tier 3:
- Base damage per shot: 850
- Fire rate: 1 shot per 1.8 seconds
- Splash radius: Small (roughly 1 character-width)
- Shell travel speed: Medium (faster than arrows, slower than bullets)
- Special: Critical hits deal 2.5x damage instead of the standard 2x
Critical Hit Synergies
The Devastator's 2.5x critical multiplier (versus the standard 2x) makes critical hit chance and damage the most important stats for this weapon. Every 1% of crit chance on the Devastator is worth roughly 25% more than on any other weapon.
Blessing Priority
1. Precision Targeting: +15% crit chance. S-tier for Devastator specifically because of the crit multiplier.
2. Anatomy Knowledge: +50% crit damage. Combined with the Devastator's innate multiplier, your crits deal 3.75x damage.
3. Reload Mastery: +30% fire rate. Reduces the shot interval from 1.8s to ~1.4s — massive DPS increase.
Best Secondary Weapon Pairings
1. Crowd Control weapon: The Devastator is slow — you need something to handle trash while the cannon reloads. A fast-firing pistol or AoE staff fills this gap.
2. Movement ability: Repositioning between shots is critical. Any weapon or ability that provides a dash or blink synergizes perfectly.
3. Marking/Tagging weapon: A secondary that applies a "marked" debuff (+20% damage taken) makes your Devastator shots hit even harder.
Pros and Cons
Strengths:
- One-shots most non-elite enemies through Act 3
- Massive boss DPS — consistently top 3 weapons for boss kill speed
- Splash damage handles clustered enemies efficiently
- Satisfying feedback — landing a full-charge critical is the most rewarding feeling in the game
Weaknesses:
- Slowest fire rate in the game (tied with some Tier 3 heavy weapons)
- Useless against fast enemies that dodge projectiles
- Shell travel time means you can miss mobile bosses
- Ammo-hungry — runs out of shells faster than any other Physical weapon
- Low DPS against spread-out packs (splash is too small to catch everything)
Positioning Guide
With the Devastator, positioning is everything:
1. Vertical alignment: Always position yourself above or below enemies, not left/right. The Devastator's shell is wider than it is tall, making vertical shots easier to land.
2. Choke point camping: Find doorways or narrow corridors. A single Devastator shot through a choke point hits everything in the hallway.
3. Pre-fire boss spawns: Bosses have fixed spawn animations. Start firing half a second before the boss becomes targetable to land the first shot immediately.
4. Never stand still for more than 1 shot: The 1.8s interval is exactly enough time for an elite to close the distance. Shoot, move, shoot.
Crafting Requirements
- Defeat the Siege Construct boss in Act 3 (drops "Heavy Barrel" blueprint)
- 20 Iron Plates (farm mechanical enemies in Act 3)
- 5 Explosive Cores (rare drop from Act 3 elite enemies)
- 12,000 gold
- Weapon Station level 6