Cathedral Priority Guide: Best Meta-Progression
Cathedral Upgrade Priority: Best Meta-Progression Path
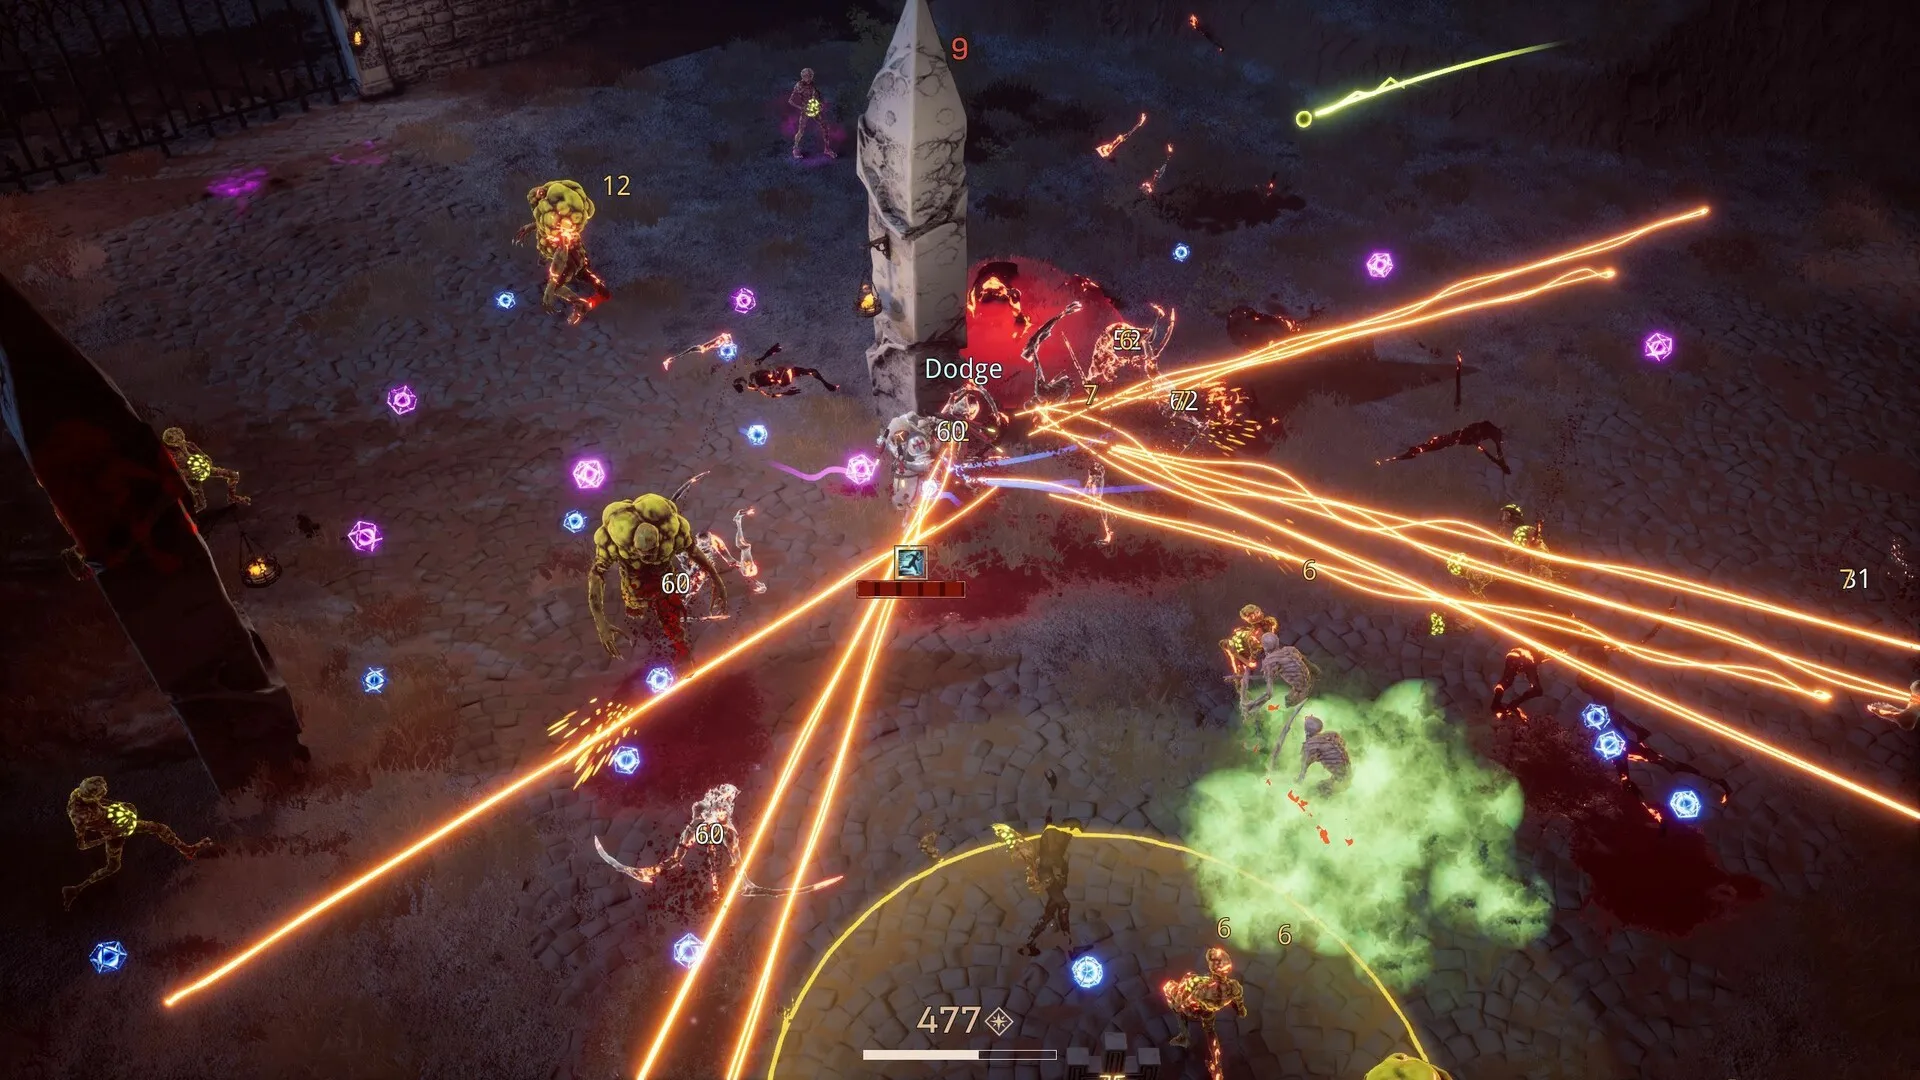
After every run in Arms of God, win or lose, you return to the Cathedral with currency to spend on permanent upgrades. The six facilities — Gunsmith, Shrine, Training Ground, Armory, Alchemy Chamber, and Bell Tower — each unlock and upgrade different aspects of your power curve. The order you invest in them determines how strong your next run starts, and making the wrong call early can add hours to your overall progression time.
I've reset my save twice to test different upgrade paths from scratch. Here's the optimal order based on direct testing, not spreadsheet theory.
Understanding the Six Cathedral Facilities
| Facility | What It Upgrades | Max Rank | Currency Cost Scaling |
| --- | --- | --- | --- |
| Training Ground | Base HP, movespeed, base damage | 20 | Linear, ~500 per rank at high levels |
| Armory | Weapon unlocks, starting weapon quality | 15 | Steep curve, rank 10+ costs ~2,000 each |
| Alchemy Chamber | Blessing pool size, blessing rarity chance, reroll tokens | 12 | Moderate curve |
| Gunsmith | Attachment slots, attachment quality, merge cost reduction | 10 | Moderate curve |
| Shrine | Starting gold, shop discount, lock token capacity | 10 | Cheap early, spikes at rank 7+ |
| Bell Tower | Character unlocks, character-specific stat bonuses | 8 | Flat 1,500 per rank |
Early Game Priority (First 15-20 Hours)
Your first 15-20 hours should follow a strict upgrade order. Deviation costs you time. Here's the exact path:
#### Step 1: Training Ground to Rank 8
Why this first: Movespeed is the single most important stat in the game. Base movespeed versus +12% movespeed (rank 8) is the difference between dodging a boss charge attack and eating it. HP at rank 8 gives you roughly 40% more effective health, which translates to surviving one extra hit from elite enemies in Act 2 and Act 3. That one extra hit is often the difference between reaching the next Crux activation and dying with souls unspent.
What you get at rank 8:
- +12% movement speed (ranks 1, 3, 5, 7)
- +35% base HP (ranks 2, 4, 6, 8)
- +8% base damage (ranks 2, 4, 6, 8, alternating with HP)
Spend every point of currency here until rank 8. Do not be tempted by the Armory or Alchemy Chamber. The stats are boring but they apply to every character, every weapon, every run. Nothing else in the Cathedral has that breadth of impact.
#### Step 2: Gunsmith to Rank 4
Why this second: Attachment slots unlock at Gunsmith ranks 2 and 4. Having two attachment slots per weapon (instead of the default one) doubles your per-weapon customization. Laser sights (+accuracy, tighter spread on shotguns), extended barrels (+range, +projectile speed), and incendiary rounds (+fire damage conversion) are all available from the first few ranks.
At rank 4 you. get the first merge cost reduction (-15% currency cost when merging weapons mid-run), which means you can merge more aggressively without running out of resources between waves.
Attachment priority:
1. Extended Barrel — best on shotguns and spread weapons. Tightens pellet spread by approximately 20%.
2. Laser Sight — best on single-target weapons like the Hellfire Magnum. The accuracy boost makes headshot hitboxes more consistent.
3. Incendiary Rounds — best on high-fire-rate weapons. Converts 30% of physical damage to fire, enabling fire blessing synergies on weapons that don't naturally have them.
#### Step 3: Alchemy Chamber to Rank 5
Why this third: Ranks 1-5 of Alchemy Chamber increase your blessing pool from 2 choices to 4 choices per selection, add one reroll token per run, and boost common blessing rarity chance by 15%. More blessing choices means less time stuck with bad options and more time building a coherent blessing setup.
The reroll token at rank 3 is particularly valuable — it lets you reject an entire blessing selection and draw three new ones. Use it when all three options are damage-type blessings that don't match your weapon loadout. Saving it for Act 4 is usually correct, since late-game blessing selections have the highest impact.
#### Step 4: Training Ground to Rank 12
Return to Training Ground and push to rank 12. The movespeed and HP gains from ranks 9-12 are smaller per rank than 1-8, but they compound with your existing stats. At rank 12 movespeed, you can outrun every non-elite enemy in the game without dashing. This fundamentally changes how you position during wave sections.
#### Step 5: Shrine to Rank 3
Starting gold seems unimportant until you realize that your first shop purchase between waves 1 and 2 often determines whether you snowball or struggle. With rank 3 Shrine (+75 starting gold), you can afford a weapon attachment or a low-tier weapon right after wave 1. Without it, you often enter wave 2 with base loadout plus whatever dropped, which is unreliable.
Mid-Game Priority (20-40 Hours)
Once your core stats are established, shift focus to build diversity and power ceiling.
#### Armory to Rank 8
Weapon unlocks at Armory ranks 3, 5, and 8 add specific high-tier weapons to the drop pool. Before these unlocks, those weapons simply don't appear in shops or as enemy drops. Rank 8 adds the Seraph's Judgment and Infernal Repeater to the pool — two S-tier weapons that dramatically improve clear consistency.
Starting weapon quality (ranks 2, 4, 6) increases the minimum rarity of weapons offered in your first shop. At rank 6, your first shop always contains at least one rare-quality weapon. This eliminates the worst-case scenario of starting a run with only common weapons and no immediate upgrade path.
#### Alchemy Chamber to Rank 8
Ranks 6-8 unlock the hidden blessing upgrades: Legendary blessings can now appear in your pool (rank 7) and you get a second reroll token (rank 8). Legendary blessings have unique effects not available at lower rarities — things like "projectiles chain one additional time" or "killing an enemy with fire damage creates a small explosion."
#### Shrine to Rank 6
Rank 6 Shrine gives you two lock tokens. Lock tokens let you reserve a shop item between waves so it stays available for purchase later. This is a game-changer for build consistency because you can lock a high-tier weapon in wave 3 and buy it in wave 6 when you have enough currency. Most failed runs happen because the right weapon appeared at the wrong time — lock tokens fix this.
Late Game Priority (40+ Hours)
#### Training Ground to Rank 20
The final ranks of Training Ground are expensive (rank 20 alone costs ~2,500 currency) but the stat gains are worth it for Act 4 consistency. Rank 20 movespeed lets you literally walk circles around bosses during their attack animations. It feels like cheating.
#### Gunsmith to Rank 10
Maxed Gunsmith gives three attachment slots per weapon and a third attachment type: Advanced Frame (reduces recoil, increases fire rate by 8%). Triple-attachment weapons are the difference between a build that works and a build that dominates. An Infernal Repeater with Extended Barrel, Incendiary Rounds, and Advanced Frame is functionally a different weapon than the base version.
#### Bell Tower to Rank 8
Bell Tower is lowest priority because character-specific bonuses are narrow in application. A +10% Holy damage bonus only helps when you're playing a Holy-focused character. The universal stats from Training Ground benefit every run. Unlock the Bell Tower characters when you want variety, not when you're optimizing for power.
Complete Bell Tower at rank 8 to unlock all 10 characters. Each character unlock costs a flat 1,500 currency, and the character-specific stat bonuses (ranks 2, 4, 6, 8) apply globally once unlocked, even when not playing that character. This is the hidden value of Bell Tower that makes it worth completing eventually.
Common Upgrade Mistakes
Mistake 1: Rushing Armory before Training Ground. Weapon variety is fun but a 10% movespeed increase on your starter weapon clears faster than a fancy new gun on a slow character. I tested this directly: a fresh save with Armory rank 5 and Training Ground rank 0 took 12 minutes longer to clear Act 2 than a fresh save with Training Ground rank 8 and Armory rank 0.
Mistake 2: Ignoring Shrine entirely. The shop discount at Shrine rank 4 (-10% shop prices) saves you approximately 400-600 currency per run at the Act 3-4 level. Over 50 runs, that's 20,000-30,000 saved currency. It pays for itself faster than any other investment and then generates pure profit.
Mistake 3: Maxing one facility before touching others. Diminishing returns are real. Training Ground rank 15 to 16 costs more than Alchemy Chamber rank 1 to 3, but Alchemy Chamber 1-3 gives you reroll tokens and more blessing choices — both of which have higher per-currency impact than one more rank of Training Ground stats.
FAQ
Q: How long does it take to max all Cathedral facilities?
A: Based on my playtime tracking, approximately 65-75 hours of active play assuming you clear at least Act 2 consistently. Speedrunners optimizing for currency per minute in Act 1 can do it faster, but that approach is mind-numbing. Play normally and the facilities will max out naturally as you progress through the Acts.
Q: Should I reset my Cathedral upgrades if I made bad choices?
A: There is no built-in respec option as of June 2026. You can manually delete your save file (located in %APPDATA%/ArmsOfGod/ on Windows) to start fresh. Whether that's worth it depends on how many hours you've invested. If you're under 10 hours and went heavily into Bell Tower first, probably worth the reset. At 20+ hours, just course-correct and follow the priority order from wherever you are.
Q: Does the Cathedral upgrade path change for specific characters?
A: The early Training Ground focus is universal — movespeed and HP benefit every character equally. The mid-game path varies slightly: fire-focused characters (The Inquisitor, The Zealot) benefit more from early Gunsmith ranks because incendiary rounds synergize with their kits. Holy-focused characters (The Seraph, The Paladin) get more from Alchemy Chamber because Holy blessings have stronger rarity scaling than Fire or Shock blessings.
Q: Are Cathedral upgrades shared across all characters?
A: Yes. Every upgrade applies globally. A rank 20 Training Ground benefits your first run on a newly unlocked Bell Tower character exactly as much as it benefits your 100th run on your main. This is why the universal stats are higher priority than character-specific bonuses.