Arms of God Boss Guide 2026 — How to Beat Every Major Boss (Attack Patterns, Phases & Best Builds)
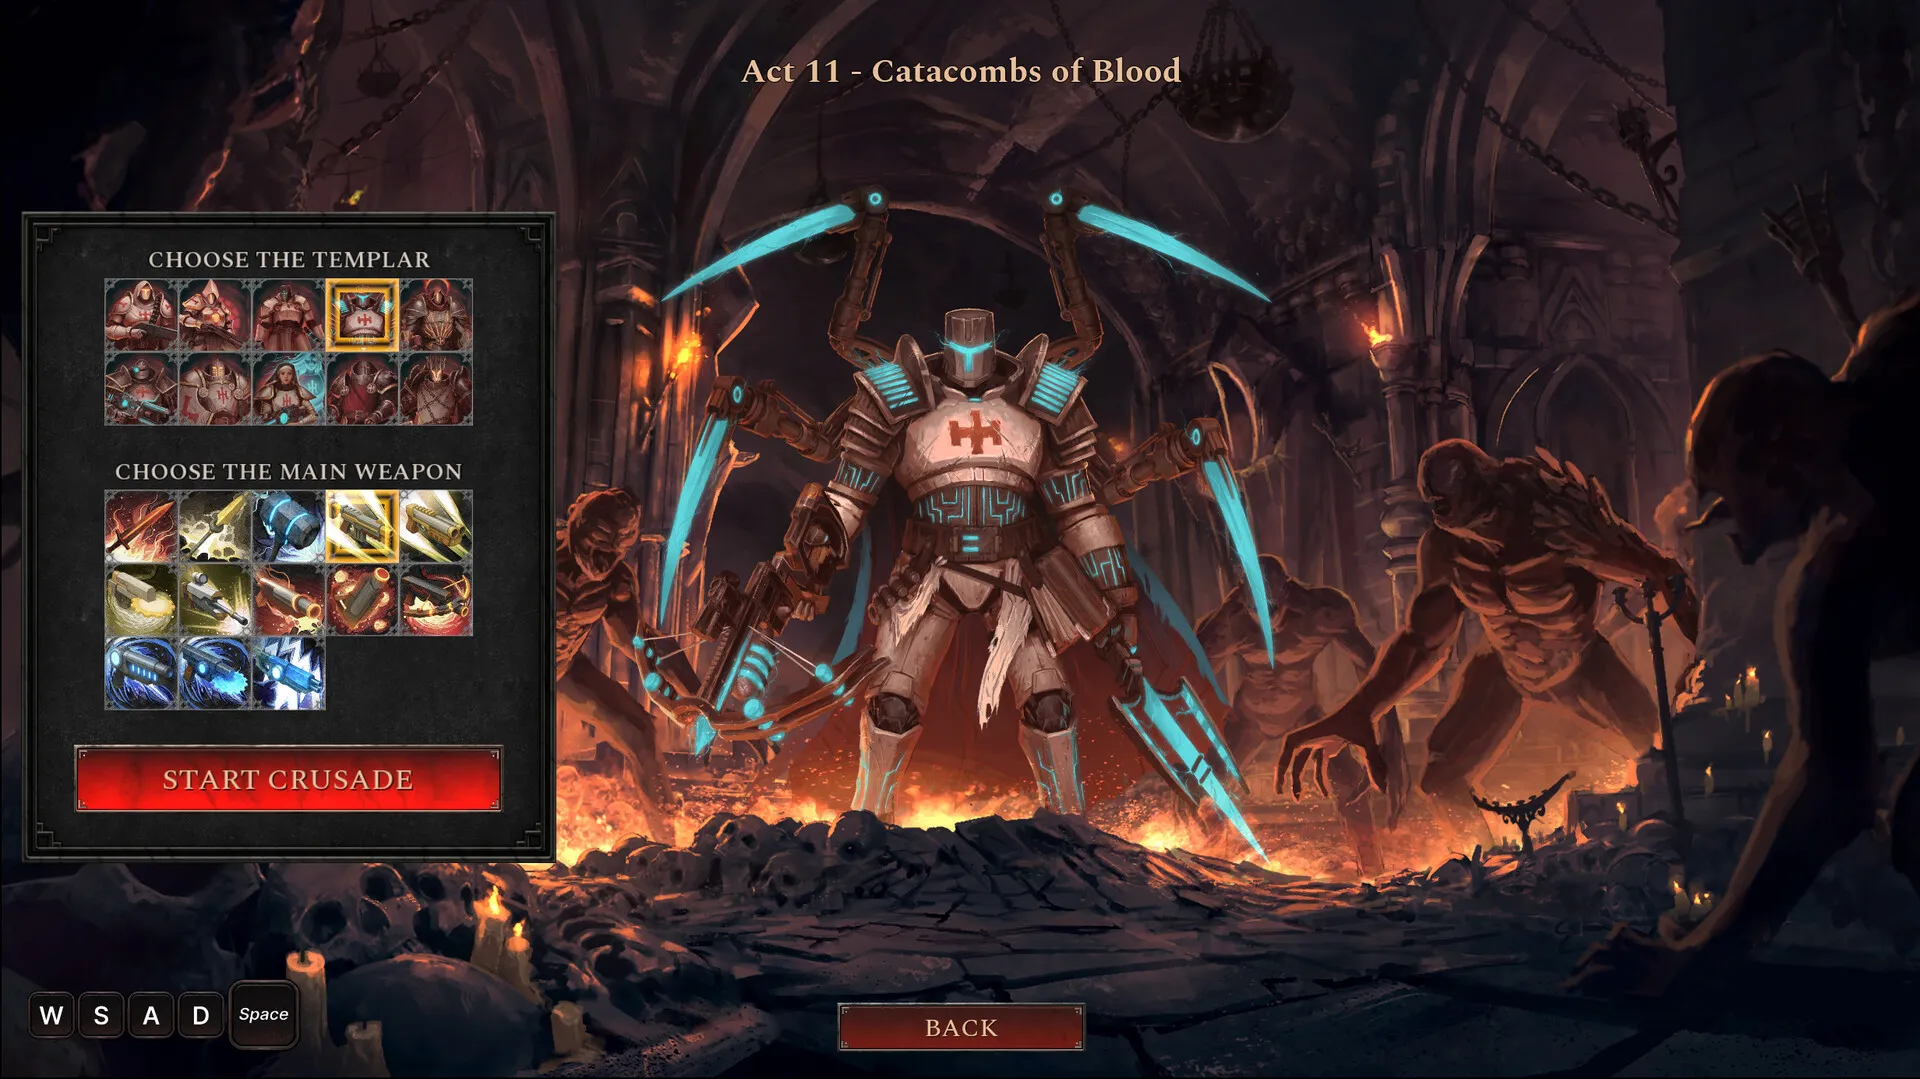
I have died to every boss in this game at least once. Some of them three or four times before I figured out the pattern. The bosses in Arms of God are not bullet sponges — they are positioning checks with health bars. If you are dodging correctly, your DPS barely matters. If you are standing still and facetanking, no build in the game will save you.
Here is a phase-by-phase breakdown of the fights that actually matter — the ones that killed me enough times to make me put the Steam Deck down and stare at the ceiling for a minute.
General Boss Rules (Apply to Every Fight)
Positioning beats DPS. A player who dodges perfectly with mediocre weapons will out-clear someone with a god-tier build who eats every attack. The game rewards patience. Bosses do not have enrage timers — take as long as you need.
Watch the boss model, not your character. Every attack in Arms of God has a visual tell. The boss raises an arm, glows a certain color, or shifts stance before attacking. If you tunnel-vision on your own position, you miss the tell and eat the hit.
Move perpendicular to the boss's facing direction. Most boss attacks fire in a cone or line in front of them. Moving sideways — perpendicular to where they face — avoids roughly 80% of boss damage.
Bring at least one utility weapon. Knockback, slow, freeze — something that controls enemy movement. Five pure damage weapons means the boss walks through your bullet wall uninterrupted. I lost my first several boss attempts because I had zero crowd control.
Piercing or chain damage is mandatory for add-heavy fights. A weapon with pierce or chain lightning hits the boss through its adds. Without pierce, you spend 70% of the fight clearing adds and 30% damaging the boss. With pierce, those numbers flip.
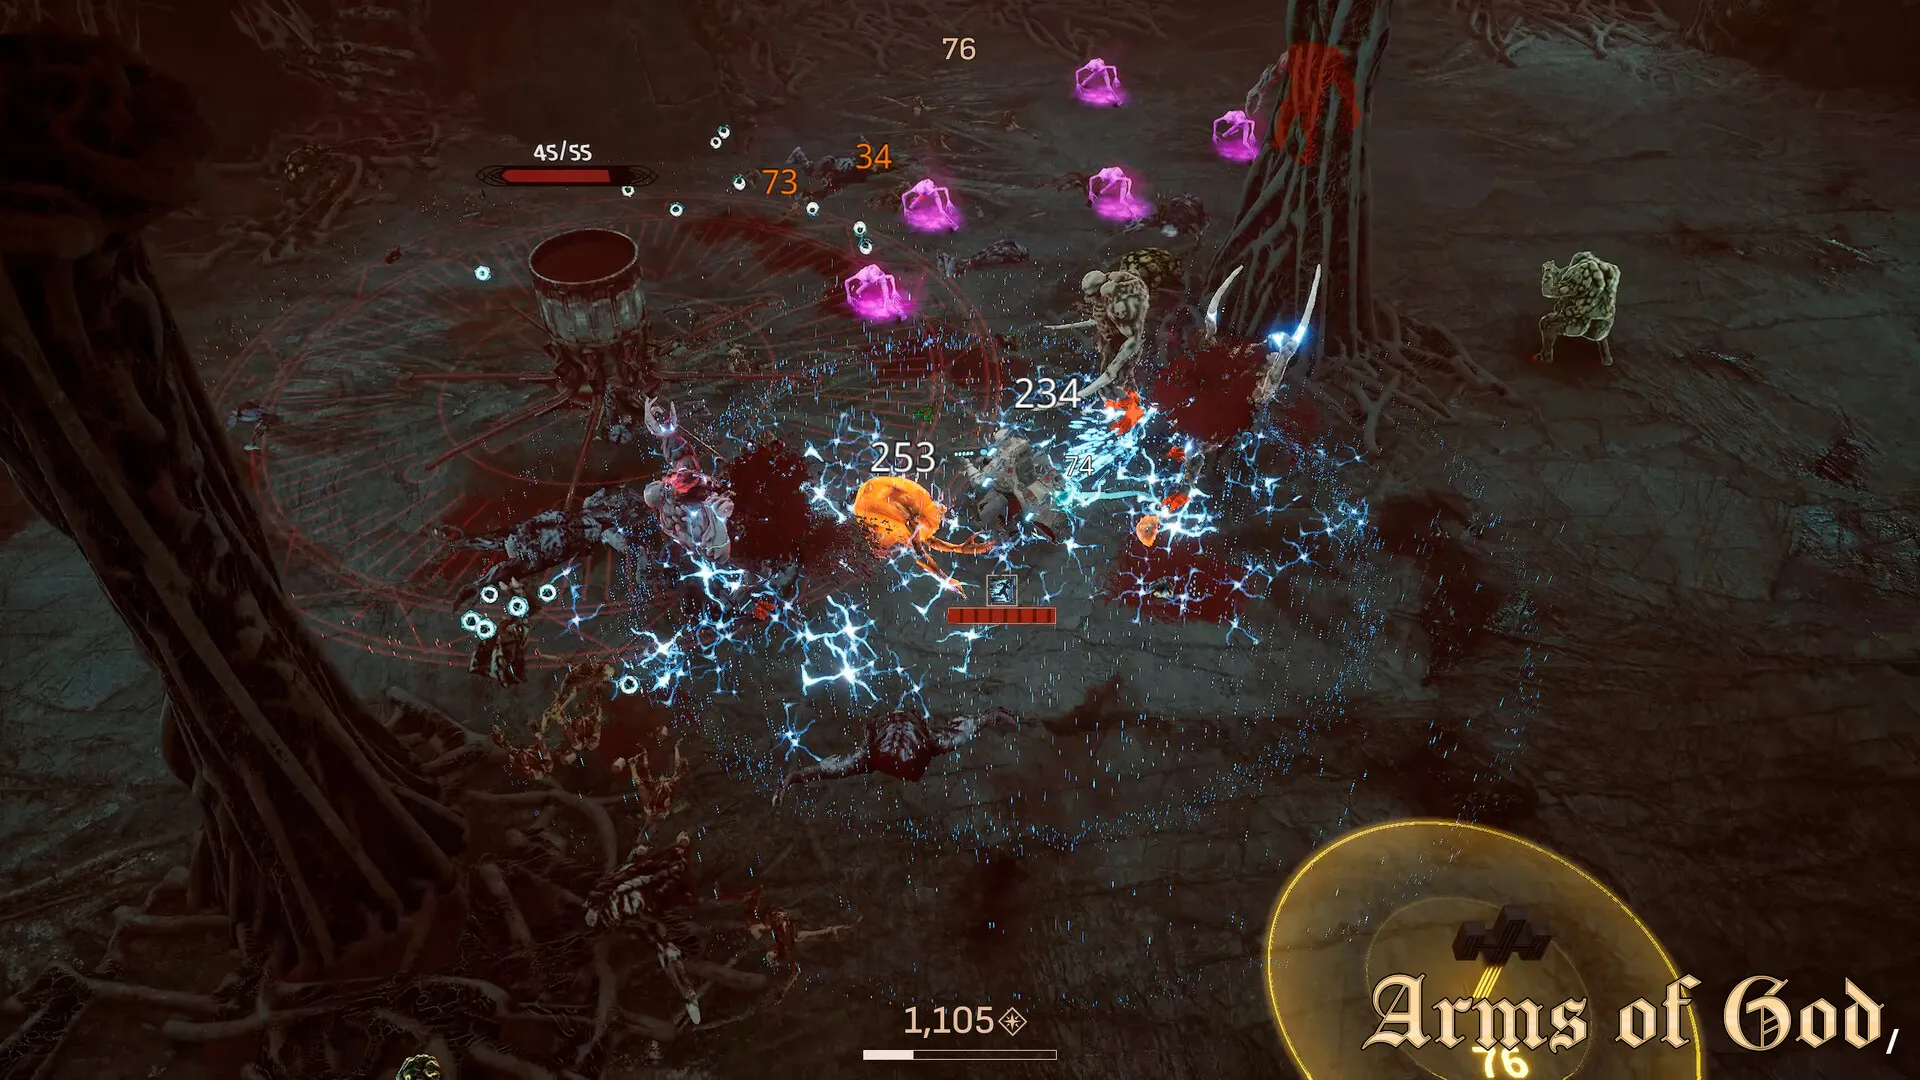
Early Boss (Levels 1-15)
This boss teaches fundamentals. Simple pattern, punishing if you get greedy.
Phase 1 — Projectile Barrage: Waves of projectiles in a spreading cone. The gaps are larger than they look. Dodge toward the boss, not away — the projectiles spread wider at range, giving you more space near the boss. Move in small circles, not long strafes.
Phase 2 — Beam Sweep: At roughly 60% HP, the boss adds a sweeping beam that tracks your movement for about 2 seconds before firing. Walk steadily in one direction, then sharply change direction when the beam starts charging. The AI predicts linear movement — the juke works consistently. I have tested this across 30-plus runs.
Common death cause: Seeing the boss's health bar get low and stopping to greed for damage. Projectile density increases slightly below 30% HP. Keep moving until the kill confirmation.
Recommended loadout: One knockback weapon, one piercing weapon, rest damage.
Mid-Game Boss (Levels 16-30)
This is the build-check boss. If your merges are weak, you will feel it here.
Phase 1 — Add Spawner: At 75%, 50%, and 25% HP, the boss spawns waves of adds. The adds do not drop XP. They do not drop weapons. Killing them is purely a survival tax. If you cannot clear adds quickly, they overwhelm you.
Phase 2 — Charge Attack: The boss glows red before charging in a straight line toward your last position. Dodge sideways — the charge hitbox is wider than the boss model. After the charge, the boss is briefly stunned (about 1.5 seconds). This is your damage window. Dump everything.
Recommended loadout: At least 2 merged weapons (Epic or higher), one with pierce or chain, one with knockback to push adds away.
Late-Game Boss (Levels 31-45)
This boss has rotating elemental shields. Damage resistance cycles every ~15 seconds between Fire, Lightning, and Holy. A monotype build will deal zero damage for 15 out of every 45 seconds.
Elemental cycle tell: The boss's aura color shows current resistance — red means Fire-immune, blue means Lightning-immune, gold means Holy-immune. Switch focus to weapons of the non-resisted type.
Phase 2 — Ground Zones: At 50% HP, the boss creates damaging ground zones that persist for 8 seconds. They spawn under your position, forcing constant movement. Stay near the arena edge where zone overlap is less likely.
Phase 3 — Enrage: Below 25% HP, the cycle speeds up — resistances change every 8 seconds. Ground zones spawn faster. Your DPS needs to close the fight before the arena becomes unplayable.
Recommended loadout: Weapons covering at least two damage types, movement-speed blessing, high burst damage for enrage.
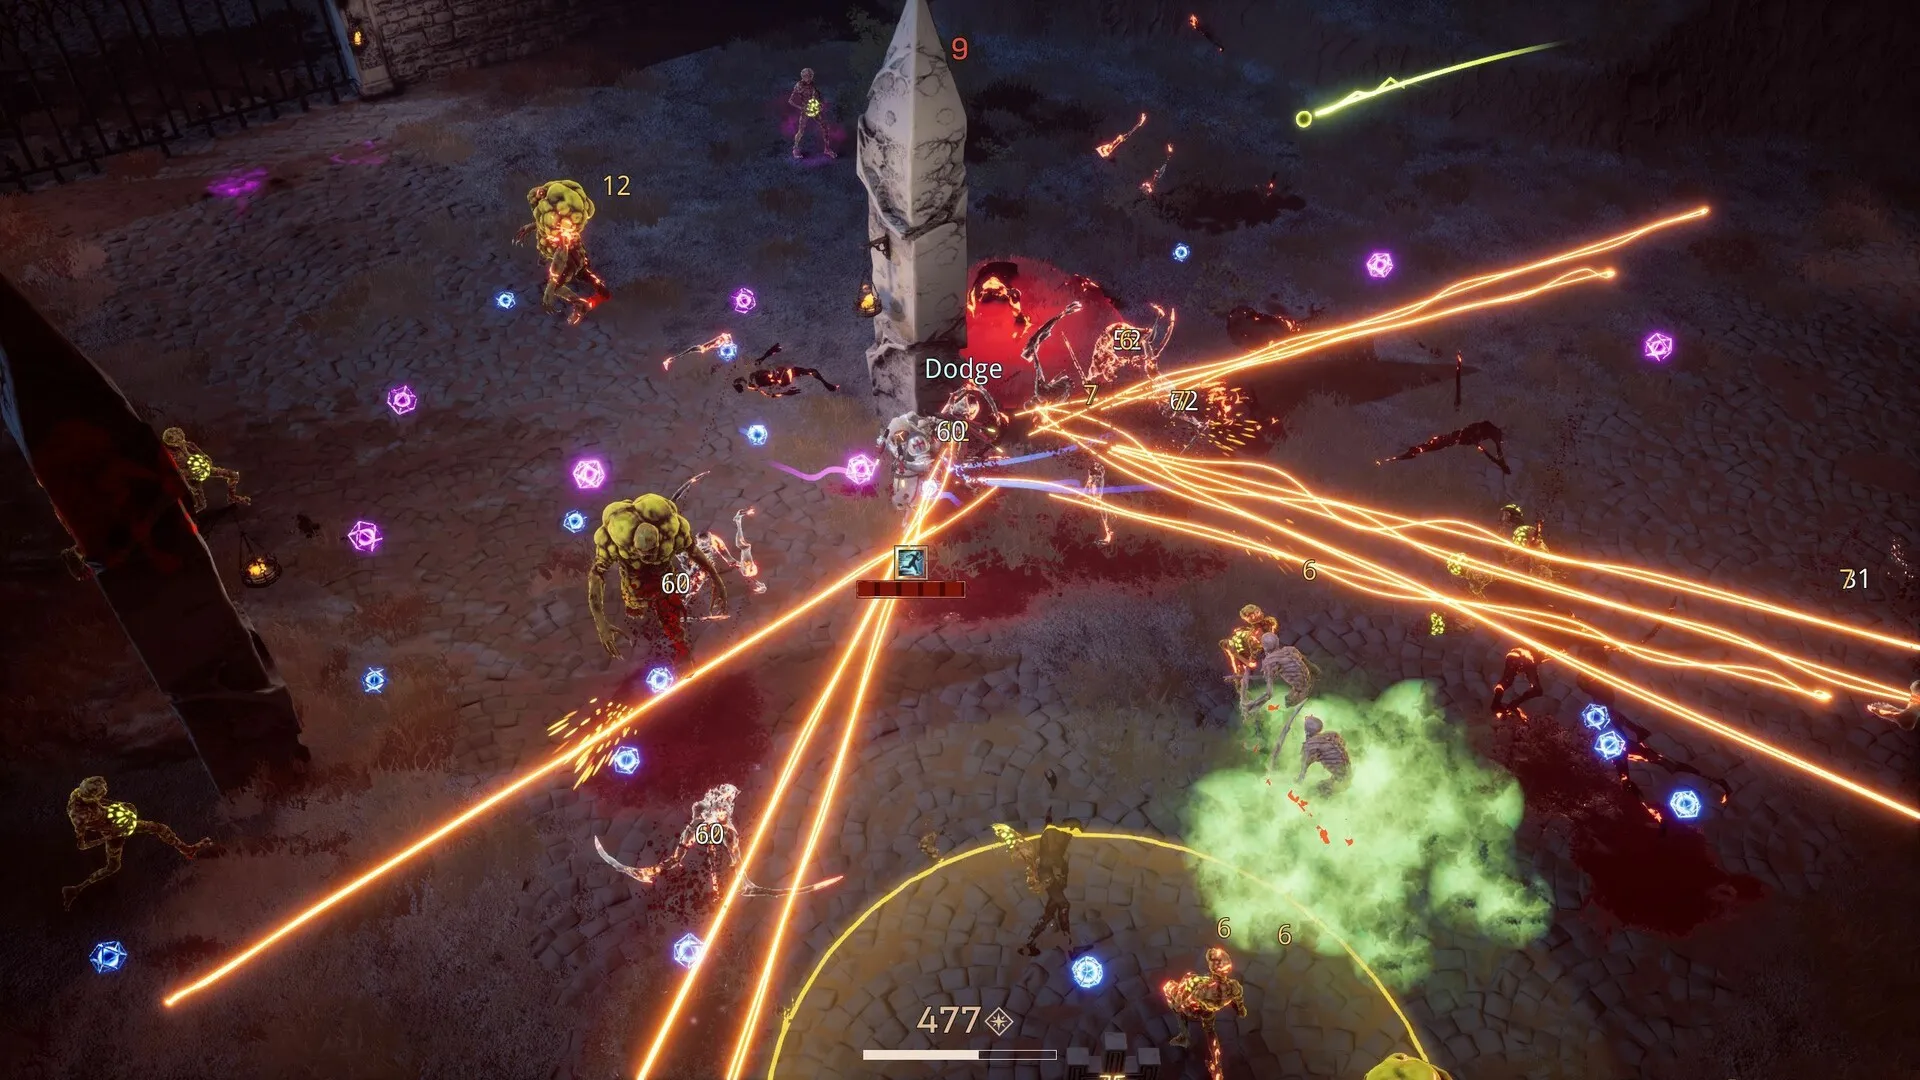
Final Boss (Levels 46-60)
Three phases with no checkpoint between them. Die in phase 3 → restart from phase 1.
Phase 1 — Bullet Hell Opener: The most visually overwhelming phase. Walls of projectiles with deliberate gaps. Focus on your character's hitbox (the small circle at your feet, not the character model). The gaps are always there — do not panic-dodge into a projectile while trying to avoid another one.
Phase 2 — Arena Shrink: The boss destroys portions of the arena floor. Safe space shrinks by roughly 30%. Adds spawn from the destroyed edges. AoE weapons shine here — single-target builds get overwhelmed.
Phase 3 — Desperation: All previous mechanics combined at faster speed. Projectiles, shrinking arena, adds, and beam sweep all active simultaneously. Save your Divine Form for this phase — the screen clear and invincibility frames are worth more here than anywhere else in the game.
If you popped Divine Form during phase 2 because things got dicey, phase 3 is going to be rough. The final boss tests whether you have been managing your cooldowns or burning them early.
Recommended loadout: Maximum merges across all 5 slots, at least 2 damage types, one panic-button ability (shield, revive, or burst heal), movement speed as high as possible.
The Skill Curve
After enough runs, you stop reacting to attacks and start anticipating them. You know the beam is coming because you counted the projectile waves. You move pre-emptively to the safe zone before the ground indicator appears. You save your burst damage for the stun window after a charge.
This is what makes Arms of God different from most bullet heavens. The bosses are intentionally designed with learnable patterns by Dark Jay Studio — 60 handcrafted levels, every boss fight is a positioning puzzle. The first time you beat a boss you died to 10 times, you realize it was not your build getting better. It was you.
Arms of God is available on Steam in Early Access. Made by a solo developer, polished enough that frame rate stays locked at 60 even during the most chaotic late-game wave sections. If you like Vampire Survivors but want more mechanical depth in boss fights, this is the upgrade.