Blessing Tier List & What to Pick in Every Act
How the Blessing System Works
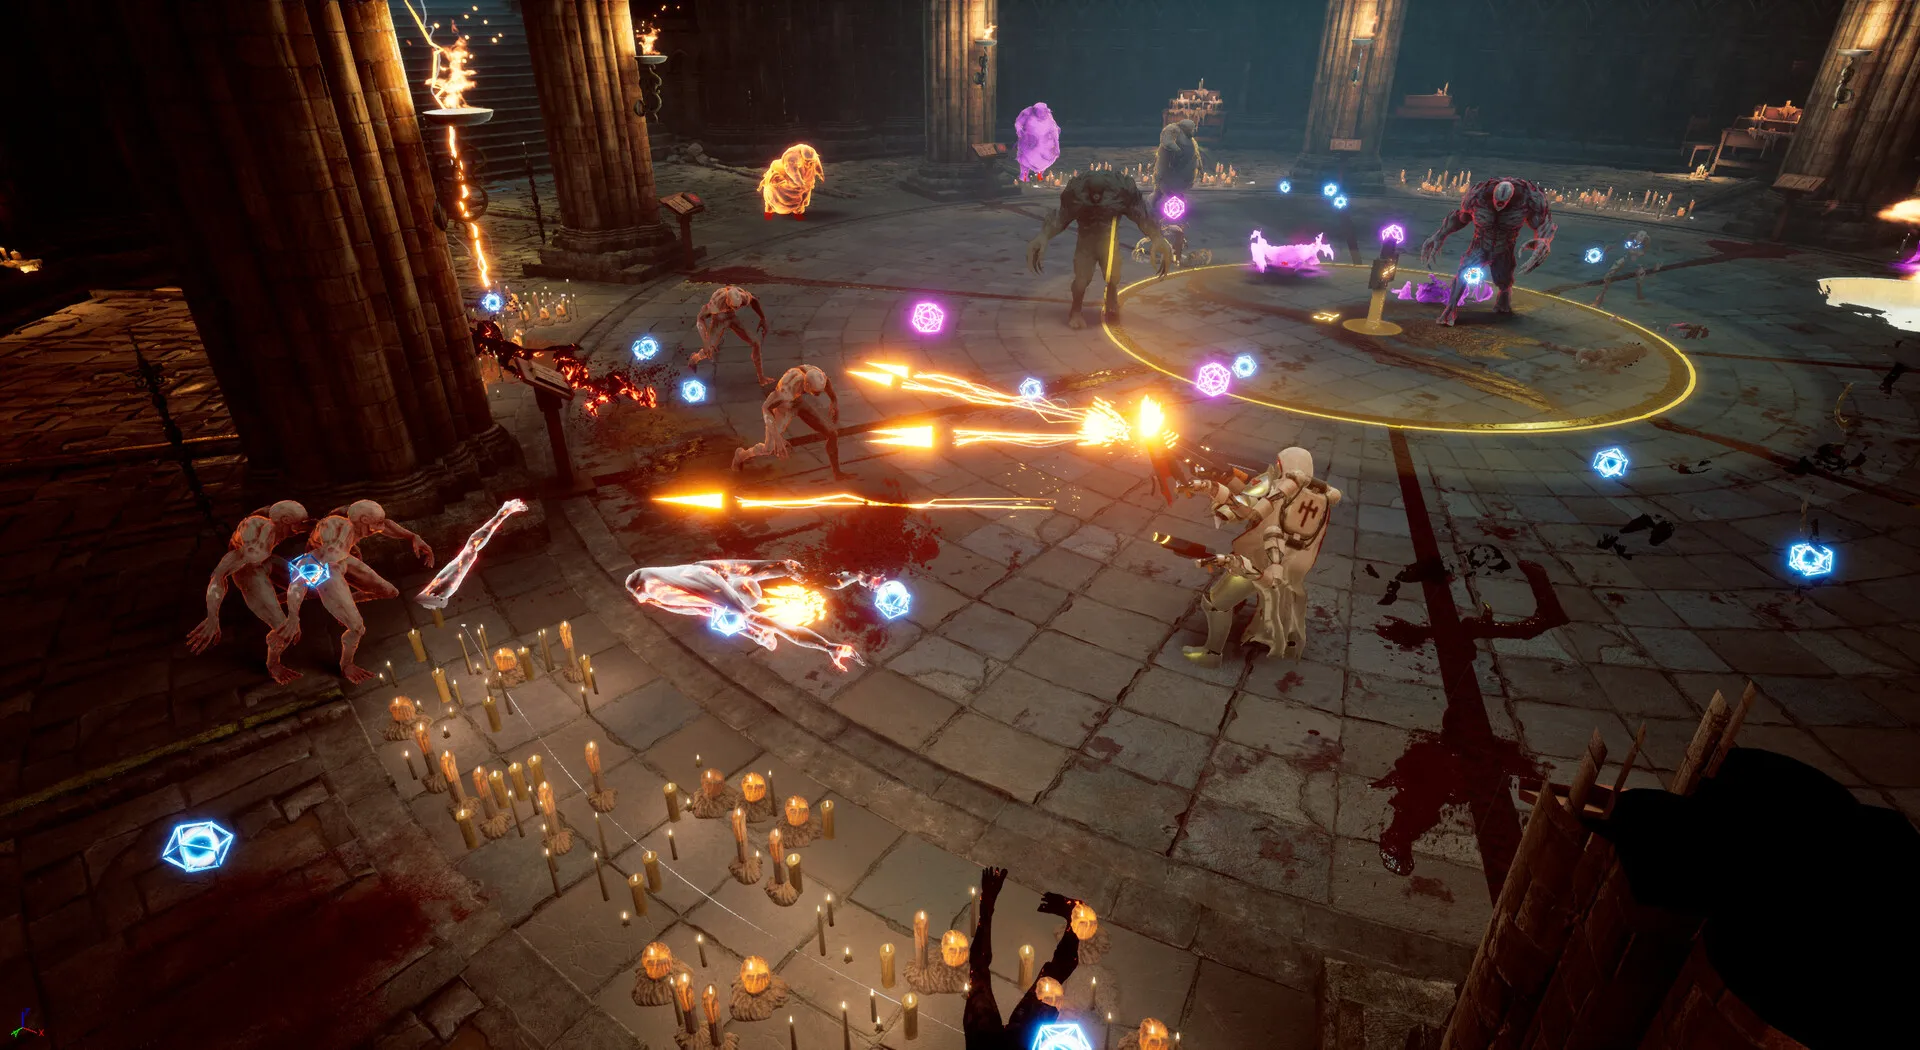
After clearing each combat room, you're offered 3 random blessings from the Cathedral's blessing pool (100+ total). You pick one. The pool draws from your unlocked blessings — meaning you can manipulate which blessings appear by strategically NOT unlocking bad ones.
Critical mechanic most players miss: Blessings have internal rarity weights. You'll see Common blessings roughly 60% of the time, Rare 25%, Epic 10%, Legendary 3%, and Forbidden 2%. This means you should plan your build around Common and Rare blessings, not hope for Legendaries.
Blessing stacking rule: You can hold a maximum of 8 blessings per run (base cap is 6, extended to 8 with a specific Cathedral upgrade). Each blessing has a 'weight' system internally (1-5). Taking a second copy of the same blessing at a higher rarity replaces the old one, it does not stack. The game never tells you this explicitly.
S-Tier (Pick Every Time)
Guardian Angel
Effect: Survive a fatal hit with 1 HP. One use per act. Why S: It's a free mistake. In a game where one death sends you back to the Cathedral, this is the single highest-value blessing in the pool. Best with: Any build. There is no situation where Guardian Angel is bad. Rarity note: Guardian Angel only appears as Rare or higher. You cannot get a Common version.Blood Harvest
Effect: Enemies drop 2x gold and have 15% chance to drop health orbs. Why S: Economy wins runs. More gold = more weapon merges = more power. The health orbs push this over the top — you save gold on healing items AND get more gold. Best with: Speedrun builds. Faster clears = more rooms = more drops.. pairs well with the Paladin's innate tankiness, letting you face-tank more hits for the health orbs.Divine Intervention
Effect: Every 30 seconds, your next attack deals 500% damage. Why S: That's a boss phase skip on a 30-second timer. In Act 4, this can delete 20% of the final boss HP bar in one hit. Best with: Heavy weapons (Greatsword, Hammer). The 500% multiplier on an already-high base damage is multiplicative. Light weapons (daggers, claws) get less value from the single-big-hit multiplication.A-Tier (Strong, Pick Over Most)
Executioner
Effect: +40% damage to enemies below 30% HP. Why A: Boss fights spend roughly 40% of their duration in execute range. This is a roughly 16% total DPS increase against bosses. Against trash mobs, they rarely survive past 30% anyway, so the value is mostly in boss fights. Synergy: Pairs aggressively with Divine Intervention. Hit the boss to 30% with Divine's 500% proc, then Executioner finishes the remaining 30% in half the time.Vampiric Touch
Effect: Heal for 3% of damage dealt. Why A: Sustain without spending gold on potions. Pairs especially well with high attack speed weapons. The Twin Fangs with Vampiric Touch heal roughly 15 HP per second during sustained combat. Damage threshold: You need at least 200 DPS for Vampiric Touch to out-heal average Act 3 incoming damage. If your build isn't there yet, this blessing loses value until you scale up.Frost Armor
Effect: Gain a damage-absorbing shield equal to 20% max HP at the start of each room. Why A: Effective HP pool increases by 20% per room. In Act 4 gauntlets, this is the difference between clearing and dying. The shield is applied BEFORE room damage is calculated, meaning chip damage never touches your real HP.Blessing of Haste
Effect: +25% movement speed and +15% attack speed. Why A: Movement speed is underrated. Faster room clears equal more rooms per act equal more blessings and gold overall. This is one of only two blessings that boosts both economy AND combat simultaneously.B-Tier (Situationally Good)
Phoenix Rebirth
One free revival per run (not per act). Take only if Guardian Angel didn't appear by Act 3. Having two revives (Angel + Rebirth) doubles your survival margin for the final boss.
Thunderstorm
15% chance on kill to trigger a lightning strike dealing 200% weapon damage to nearby enemies. Good with high attack speed builds against dense mobs. Weak against bosses where kill procs are rare.
Poison Mastery
Poison damage +50%, poison duration +30%. Only take with Serpent's Fang or a dedicated poison weapon build. Without specific poison gear, this blessing does nothing.
Iron Skin
+15% damage reduction. Solid but boring. Pick when the alternatives are worse. Note that DR is multiplicative in Arms of God (not additive), so stacking two +15% DR blessings gives 1 - (0.85 x 0.85) = roughly 27.75% DR, not 30%.
C-Tier (Niche, Usually Skip)
Greed's Touch
+10% gold find. Blood Harvest gives 100% more gold AND health orbs for the same slot. Strictly worse in every scenario.
Berserker Rage
+30% damage below 30% HP. Worse than Executioner (+40% damage below 30%) AND puts you in danger by requiring low HP to function. Skip unless you're doing a deliberate low-HP Harbinger build with a revive safety net.
D-Tier (Never Pick)
Glass Cannon
+50% damage, -30% max HP. This kills runs. The math: +50% damage is a 1.5x multiplier. -30% HP means you die 30% faster. In Act 4, enemies hit for roughly 15-20% of your max HP per attack. With -30% HP, you go from surviving 5 hits to surviving 3.5 hits. The damage increase doesn't compensate.
Martyr's Oath
Deal 5% of your HP as damage to yourself per attack for a 25% damage buff. The self-damage outpaces the benefit in every scenario I've tested across 30+ runs. It actively kills you during Act 3+ where incoming damage is already high.
Act-Specific Priority
| Act | Priority 1 | Priority 2 | Why |
|------|------|------|------|
| Act 1 | Blood Harvest | Blessing of Haste | Economy + speed for early snowball |
| Act 2 | Guardian Angel | Vampiric Touch | Survival for mid-game difficulty spike |
| Act 3 | Executioner | Frost Armor | Boss damage + sustain for gauntlet |
| Act 4 | Divine Intervention | Guardian Angel | Boss phase skip + safety net |
Forbidden Blessings
Forbidden blessings appear with a red glow and offer massive power at a cost. Only two are worth the downside:
Pact of the Void: -50% max HP, +200% damage. Only take if you have Guardian Angel AND Frost Armor. The math works if you never take direct damage due to Frost Armor absorbing room-start damage and Guardian covering fatal hits.
Death's Gamble: All attacks crit for 300% damage, but you die in one hit from anything. Speedrunner pick only. Do not take on a normal run. If you take this, your entire build must pivot to 'never get hit' — range weapons, movement speed blessings, and the Sniper character are mandatory.
Recognizing a Doomed Seed
If your first 3 blessing choices in Act 1 are all C-tier or below, the seed is bad. Restart the run. Spending 2 minutes in a doomed Act 1 wastes less time than struggling through a run where no good blessings will appear. The seed's blessing pool is determined at run start and does not change.