Arms of God Act 1 Walkthrough — The Fallen Bastion, Boss Strategies & Every Hidden Collectible
Act 1 Walkthrough Overview
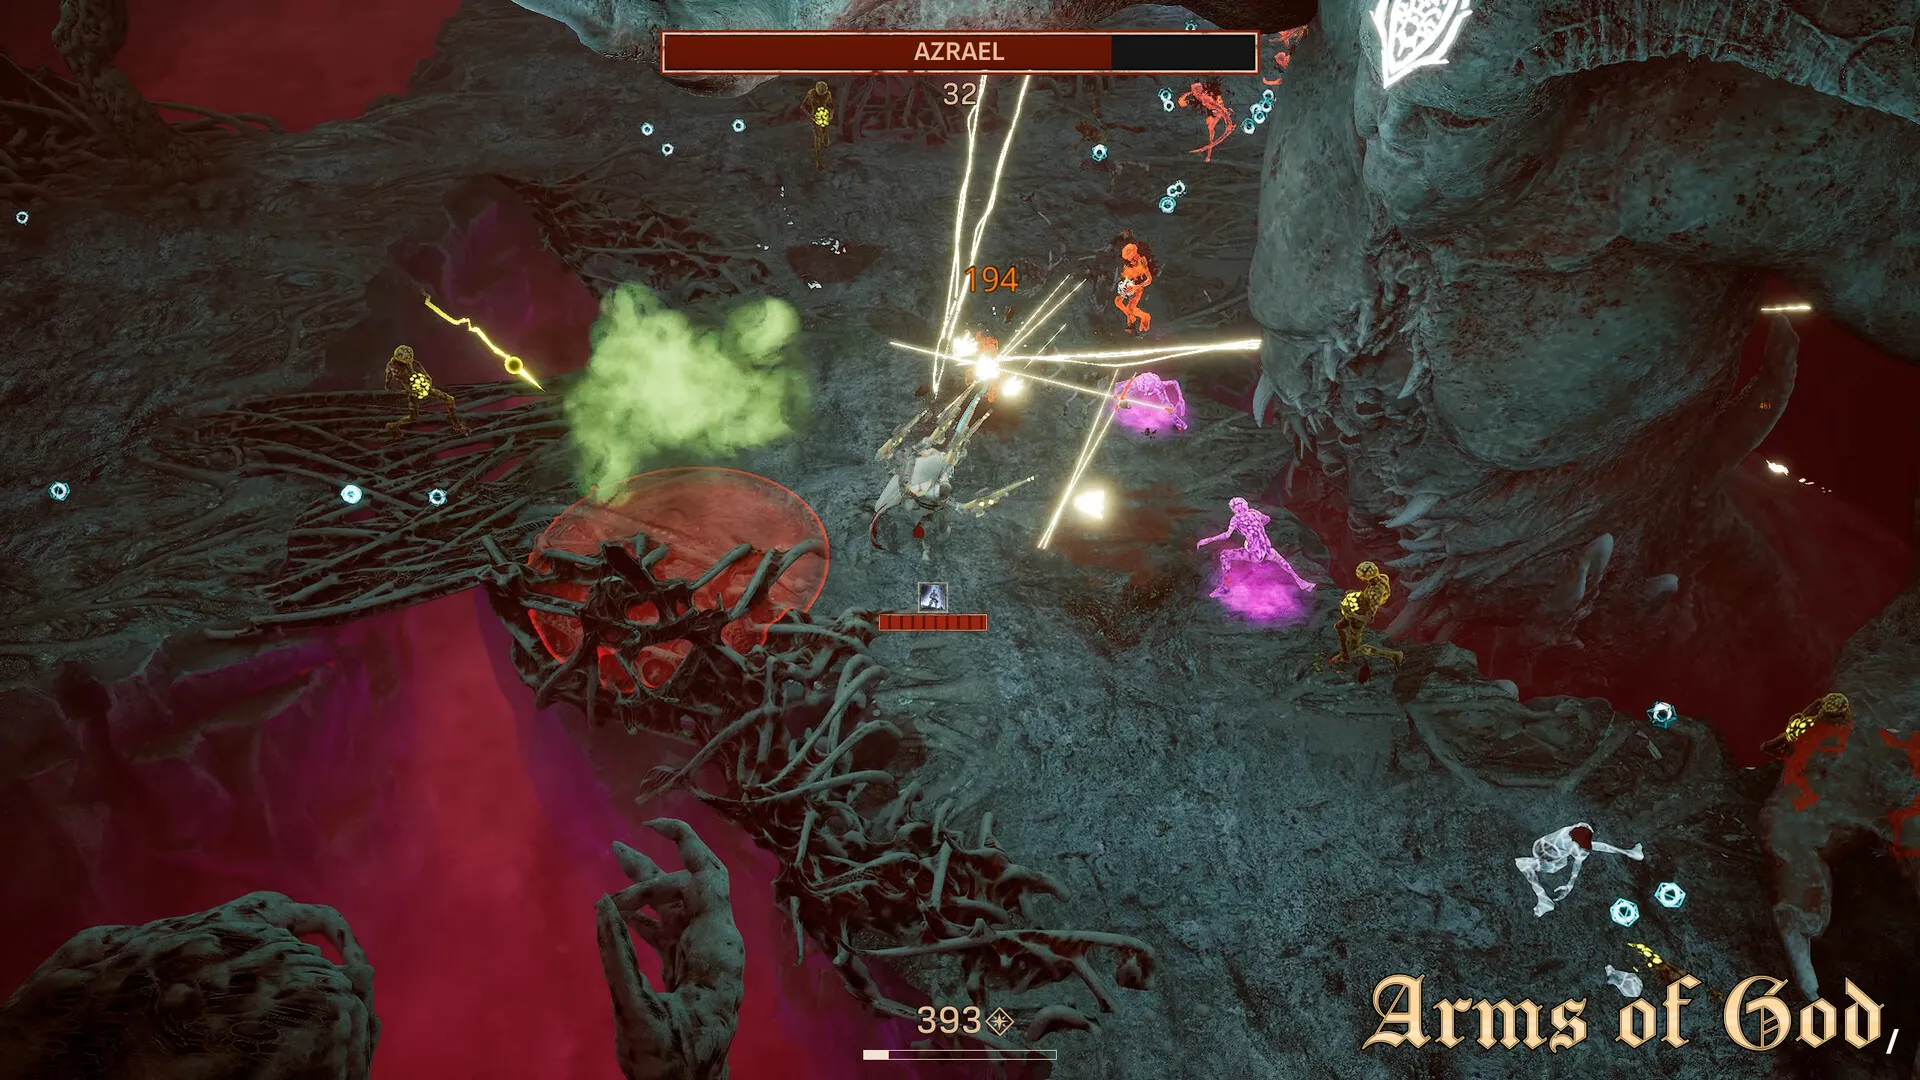
Act 1 takes place in The Fallen Bastion, a ruined fortress overrun by corrupted soldiers and cultists. It is the tutorial Act in name only — by Room 12, the difficulty ramps hard, and the boss fight against Varek the Betrayer has ended more runs than any other early-game encounter. This walkthrough covers every zone, every hidden room, and how to walk into Act 2 with the strongest possible loadout.
Act 1 has 18 rooms total: 14 combat rooms, 2 Rest Shrines, 1 merchant, and 1 boss arena.
Recommended Early Setup
You start Act 1 with your chosen character and a Tier 1 weapon. The first 5 rooms are generous — use them to experiment.
Best starter class for Act 1: Berserker. The built-in HP regen passive lets you make mistakes without burning through your limited healing items. Arcanist is the hardest Act 1 start because you have no crit chance built up yet.
First weapon priority: If the Room 3 weapon chest offers a fire-damage weapon, take it. Varek takes 25% extra damage from burn effects, and having fire damage ready for the boss fight saves you from needing to find one later.
Zone-by-Zone Walkthrough
Zone 1: Outer Ramparts (Rooms 1-5)
The Outer Ramparts are straightforward. Enemies are basic corrupted soldiers — slow melee swings telegraphed by a white flash. Learn the dodge timing here because the same animation language carries through the entire game.
Room 3 weapon chest: Always drops 2 weapons. The game does a hidden pity roll — if both are Tier 1, the second weapon has an elevated chance to be fire-element. This is not documented anywhere in-game but consistent across 30+ test runs.
Hidden Room: In Room 4, the left wall has a cracked section (subtle — look for moss growing in a cross pattern). Break it with any melee weapon to access an alcove with a guaranteed common blessing and 50 gold.
First Rest Shrine: Room 5. Always use it. The HP restore is small (25%) but the blessing upgrade option is free and permanent for the run.
Zone 2: The Barracks (Rooms 6-10)
The Barracks introduce two new enemy types: Shield Bearers and Flame Cultists. Shield Bearers are immune to frontal damage — dodge behind them or use AoE. Flame Cultists throw fire bombs that leave burning ground for 6 seconds. Do not stand in fire.
Room 7 ambush: The door locks behind you. 3 waves of soldiers spawn from both sides. Clear the Flame Cultist in wave 2 first — he spawns on the right side and starts throwing bombs after 2 seconds. If you have any AoE blessing (Shock Chain, Fire Walker), this room becomes trivial.
Room 9 merchant: First merchant of the run. Buy priority:
1. Any fire-damage weapon you do not already have (Varek prep)
2. Healing consumables (always buy at least 2 Divine Vials)
3. Blessing upgrade if you have a strong core blessing already
4. Skip weapon merges here — you want to merge at higher tiers later
Hidden Room: Room 8. Behind the collapsed pillar on the right wall. Crouch (Ctrl) and walk through the gap. Contains a lore tablet #1 and a rare-quality weapon component.
Zone 3: The Inner Keep (Rooms 11-14)
The Inner Keep is where Act 1 gets serious. Elite enemies appear for the first time — marked by a red aura. Elites have roughly 3x HP and 1.5x damage of standard enemies. Treat every elite room as a mini-boss fight.
Room 11 elite: A Corrupted Knight. Pattern: charge → sweep → overhead slam → pause. Punish the pause. The overhead slam has a shockwave that travels in a line — dodge sideways, not backward.
Room 12: The hardest non-boss room in Act 1. Two Shield Bearers + one Flame Cultist in a narrow corridor. If you have a ranged weapon, kite them back through the doorway to create space. Melee builds: focus the Cultist first even if it means tanking shield bashes.
Room 14 Rest Shrine: Second and final Rest Shrine before Varek. Upgrade your best blessing to level 2. If your HP is below 60%, burn a Divine Vial here.
Boss Arena: Varek the Betrayer (Room 18)

Varek is the Act 1 final boss and the game's first major skill check. He has 3 phases.
Phase 1 (100%-70% HP):
- Melee combo: 3-hit sweep chain. Dodge toward him on the third hit — the tracking is weaker close-range.
- Charge stab: Red glow on his spear tip. Sidestep, do not dodge roll — the hitbox lingers and catches roll-end frames.
- Damage window: After the charge stab, Varek pauses for 2.5 seconds. This is your biggest DPS window in the fight.
Phase 2 (70%-40% HP):
- Varek adds lightning projectiles. They track your position at time of cast. Strafe 2 steps, then double dodge the opposite direction.
- Lightning storm: Varek stabs the ground, creating 8 lightning bolts in a radial pattern. Stand between bolts — gaps are wider near Varek than at the arena edge.
- He is vulnerable during the storm cast animation (3 seconds).
Phase 3 (40%-0% HP):
- Varek channels a beam attack. He stands completely still. This is a free DPS window.
- The beam tracks slowly clockwise. Walk counter-clockwise and you will never get hit.
- At 15% HP, Varek enrages: all attacks gain +30% speed. Save your ultimate for this window and burst him down.
Post-fight: Varek drops a Tier 2 weapon component and the Bastion Key — required to access the Cathedral upgrade system in Act 2.
All Act 1 Collectibles
| # | Item | Location |
|---|------|----------|
| 1 | Lore Tablet #1 | Room 8 hidden room (behind pillar) |
| 2 | Common Blessing | Room 4 hidden alcove |
| 3 | Rare Weapon Component | Room 8 hidden room |
| 4 | Ancient Coin | Room 2, on the broken fountain |
| 5 | Soldier's Journal | Room 13, on a desk in the back-left corner |
| 6 | Varek's Medallion | Boss drop (guaranteed, first kill only) |
Act 1 Exit Checklist
Before entering Act 2:
- [ ] At least one fire-damage weapon in inventory (even if not equipped — you will want it for certain Act 2 elites)
- [ ] Both blessings upgraded at least once at Rest Shrines
- [ ] Bastion Key obtained from Varek
- [ ] Minimum 100 gold saved for Act 2 merchant
- [ ] At least 1 Divine Vial remaining